
Set a Print Area in Excel: print only the part you want
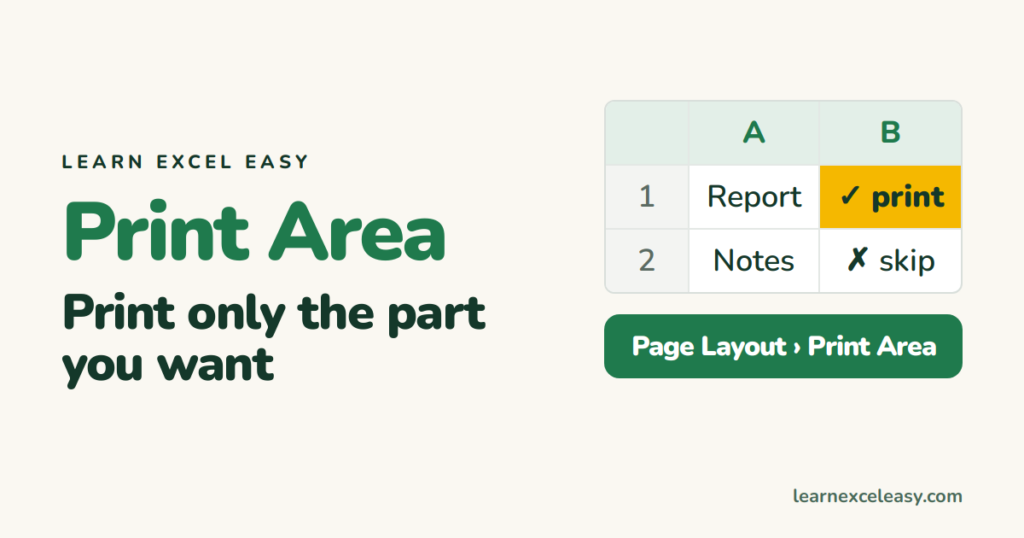
Excel prints everything on the sheet by default — scratch notes, helper columns, all of it. A print area tells it which cells matter.
Steps
- Select the cells to print, e.g. A1:F40.
- Page Layout › Print Area › Set Print Area.
- Press Ctrl + P. The preview shows only your selection.
Fit it on one page
In the print preview, bottom of the settings list: change No Scaling to Fit Sheet on One Page. For a wide table choose Fit All Columns on One Page and switch to Landscape.
Repeat the heading row on every page
- Page Layout › Print Titles.
- Click in Rows to repeat at top, then click row 1. OK.
Print gridlines
Page Layout › under Gridlines tick Print.
Clear the print area
Page Layout › Print Area › Clear Print Area. Excel goes back to printing everything.
Check it worked
Ctrl + P and use the page arrows at the bottom of the preview. Every page should show your headings; nothing outside the area appears.
Common mistakes
A blank page prints. A stray value far away (say Z500) extends the print. Set a print area, or delete the stray cell.
Print area is saved with the file — set it once, it stays until you clear it.

20 years with spreadsheets and enterprise systems. Writes one short, plain-English Excel lesson a day. Got an Excel question? learnexceleasycom@gmail.com
