
Text to Columns in Excel: split names, addresses and codes
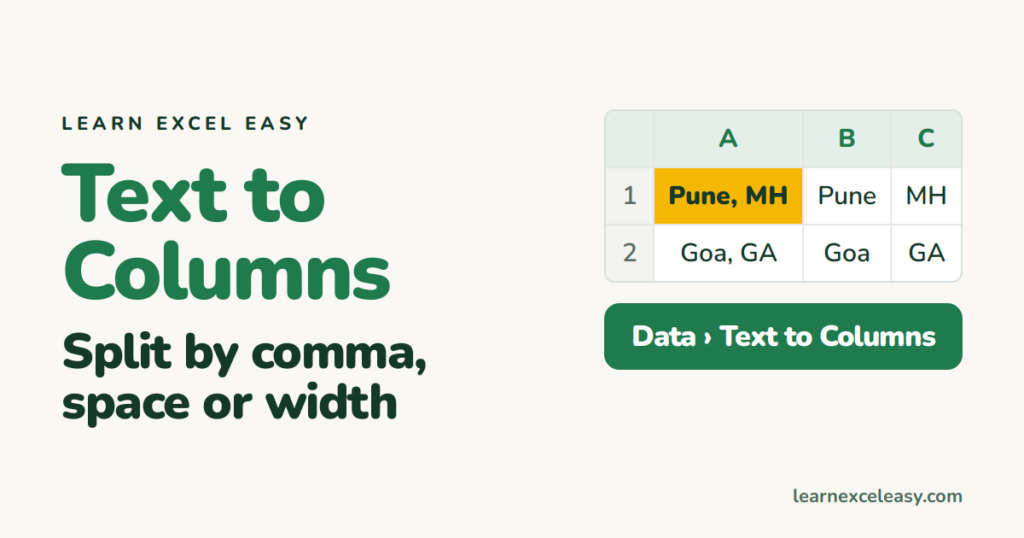
One column holds “City, State”. You need City in one column and State in the next. Text to Columns does it in five clicks.
Steps: split by a character
- Make sure the columns to the right of your data are empty — results land there.
- Select the cells (A2:A200).
- Data › Text to Columns.
- Delimited › Next.
- Tick the character that separates the pieces: Comma, Space, or Other and type it (
-,/,|). The preview updates. Next. - Finish.
Split by position (fixed width)
Codes like INV2026A where the pieces are always the same length: choose Fixed width in step 4, then click in the preview to place a break line where each piece ends. Next, Finish.
Keep leading zeros or dates intact
On the last screen (step 3 of the wizard), click each column in the preview and set Column data format: Text for codes, Date with the right order (DMY / MDY) for dates. Otherwise 00421 becomes 421.
Put the results somewhere else
Same last screen: set Destination to a cell like $C$2. The original column stays as it was.
Check it worked
Scroll to a row with a comma inside the value (“Pune, MH, India”). It made three columns — decide whether that is what you want.
Undo
Ctrl + Z straight away restores the original column.
Prefer a formula that updates itself? See split a cell.

20 years with spreadsheets and enterprise systems. Writes one short, plain-English Excel lesson a day. Got an Excel question? learnexceleasycom@gmail.com
