
How to Print Labels from Excel (with Word mail merge)
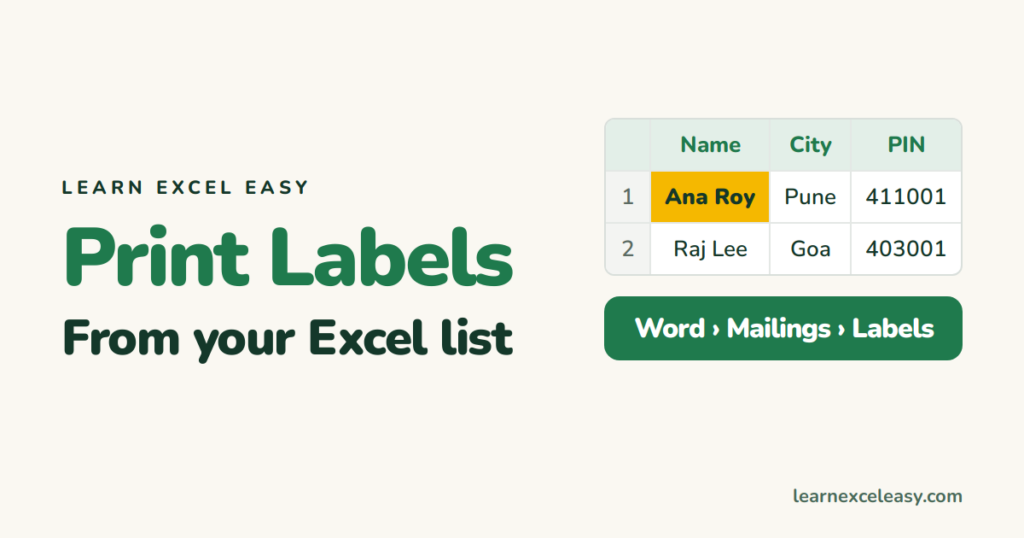
Excel holds the addresses; Word prints the labels. The link between them is called mail merge. Ten minutes the first time, two minutes after.
Step 1: the Excel sheet
- Row 1 = headings: Name, Address, City, PIN.
- One person per row, no blank rows, no merged cells.
- PIN codes formatted as Text so leading zeros stay.
- Save and close the file.
Step 2: start the labels in Word
- Open Word. Mailings › Start Mail Merge › Labels.
- Choose the label vendor and product number printed on your label box (e.g. Avery 5160, or A4 21-per-sheet). OK.
Step 3: connect the Excel file
- Mailings › Select Recipients › Use an Existing List › pick your Excel file › choose the sheet › OK.
Step 4: lay out one label
- Click in the first label. Mailings › Insert Merge Field › Name. Press Enter. Insert Address, Enter, City, space, PIN.
- Mailings › Update Labels. Every label copies the layout.
Step 5: preview and print
- Mailings › Preview Results. Use the arrows to check a few.
- Finish & Merge › Print Documents › All › OK.
Check it worked
Print page 1 on plain paper first. Hold it over a label sheet against the light — text must sit inside each label.
Common mistakes
PIN lost its zero — format the column as Text in Excel, save, reconnect.
Only the first label filled — you skipped Update Labels.
Wrong people — Mailings › Edit Recipient List to untick rows.

20 years with spreadsheets and enterprise systems. Writes one short, plain-English Excel lesson a day. Got an Excel question? learnexceleasycom@gmail.com
